
This project is to build a cabinet for a corner of the dining room. The size is constrained by the wall openings and the desire to put the silverware case on the top at a reasonable height. The style is constrained by a desire to roughly match the style of the existing dining room furniture–and by my level of ability.
Here’s the initial ‘design document’. The first version was a rough hand-drawn sketch over which I drew straight lines and added some details. Measurements are approximate and there is some flexibility in the final size.
This is going to be a face-frame cabinet made of solid oak with an oak plywood bottom shelf. It will have one oak plywood middle shelf that might be adjustable. TBD. The doors will be raised panel. This is new territory for me and is something I have wanted to learn. The top is also TBD: possibly interesting, thick oak; possible stone. That choice is up to the design consultant. (AKA, the customer. AKA, my wife.)
Preparing the Wood
Step 1 was to put together a list of the wood pieces needed. For the face frame, door stiles, and base the pieces are pretty obvious. The sides will have to be made up from multiple pieces of oak since I don’t have anything wide enough.
Step 2 was to mark out where these pieces could be taken from a bunch of rough-sawn oak boards. These boards came from my dentist’s father who has property out near Cleveland. When a tree comes down–or needs to be taken down–he saws it into planks and ages it in the barn. The are rough and bend in all directions. But they clean up nicely.
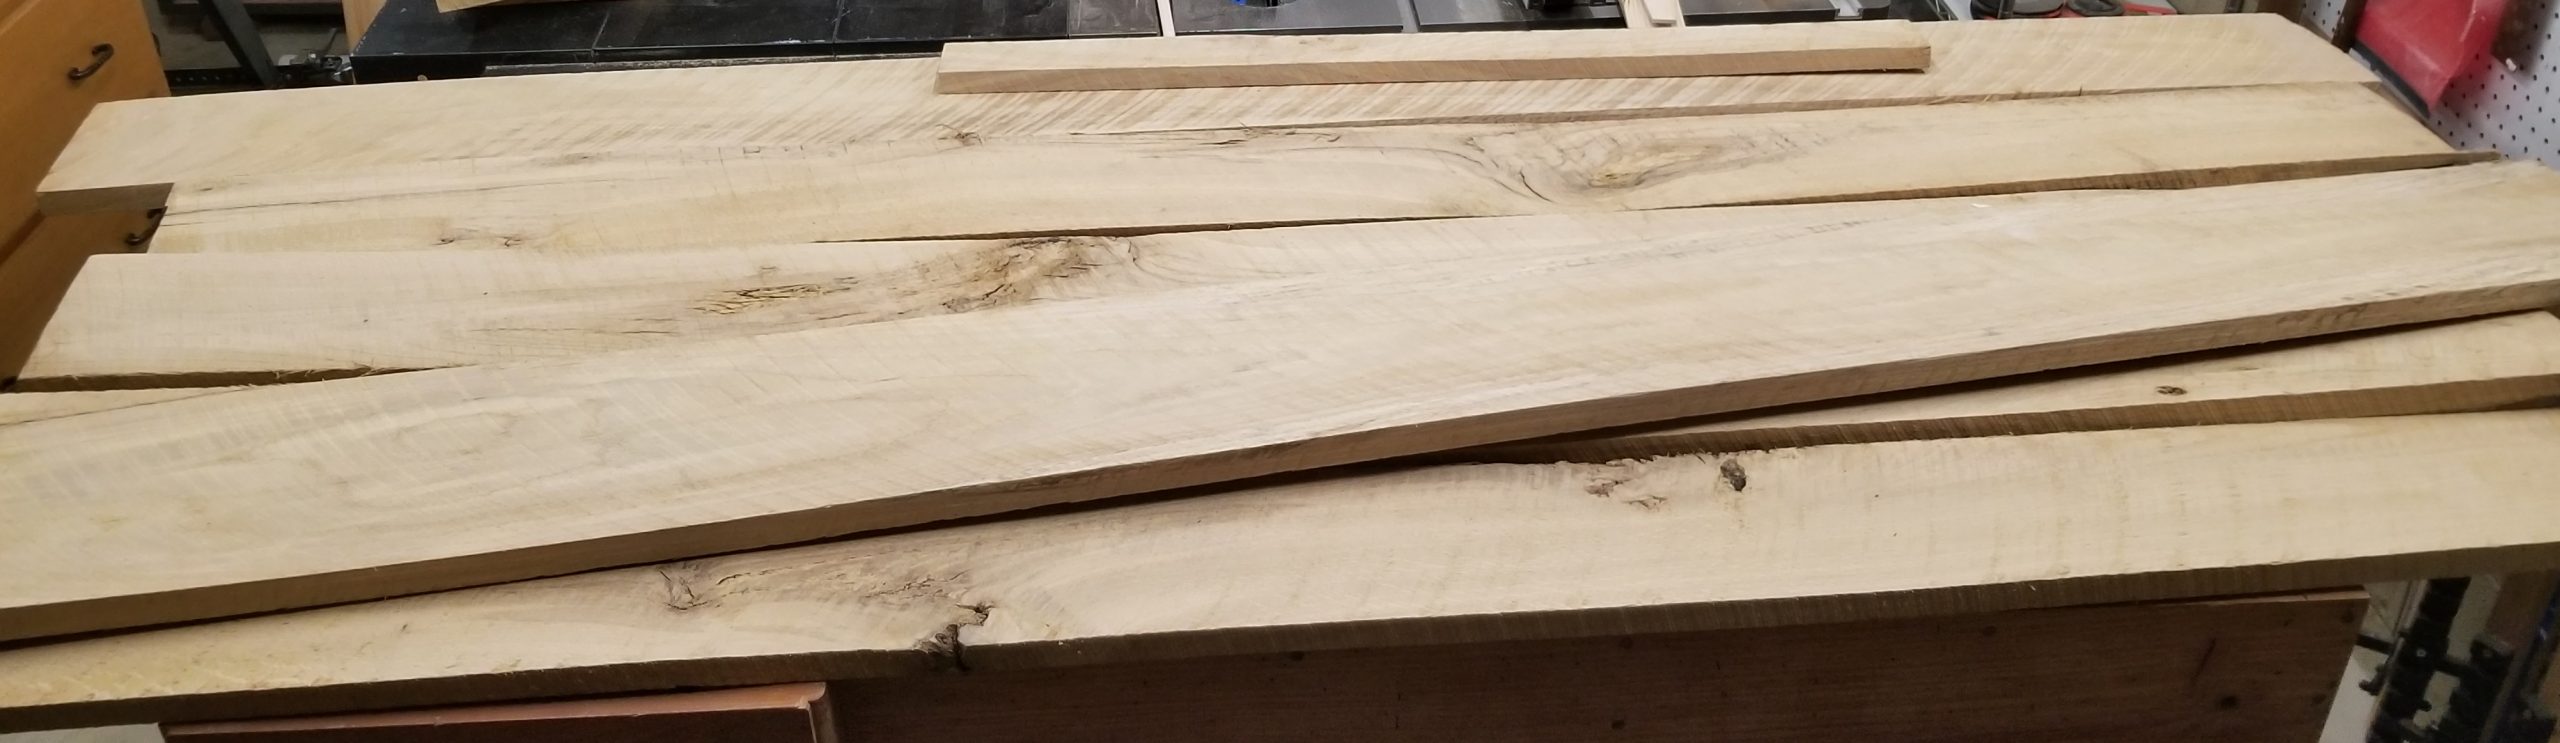
Next, cut them to rough size, as in a little bigger than finished size. There’s no way to flatten the boards at full size; there is just too much movement.
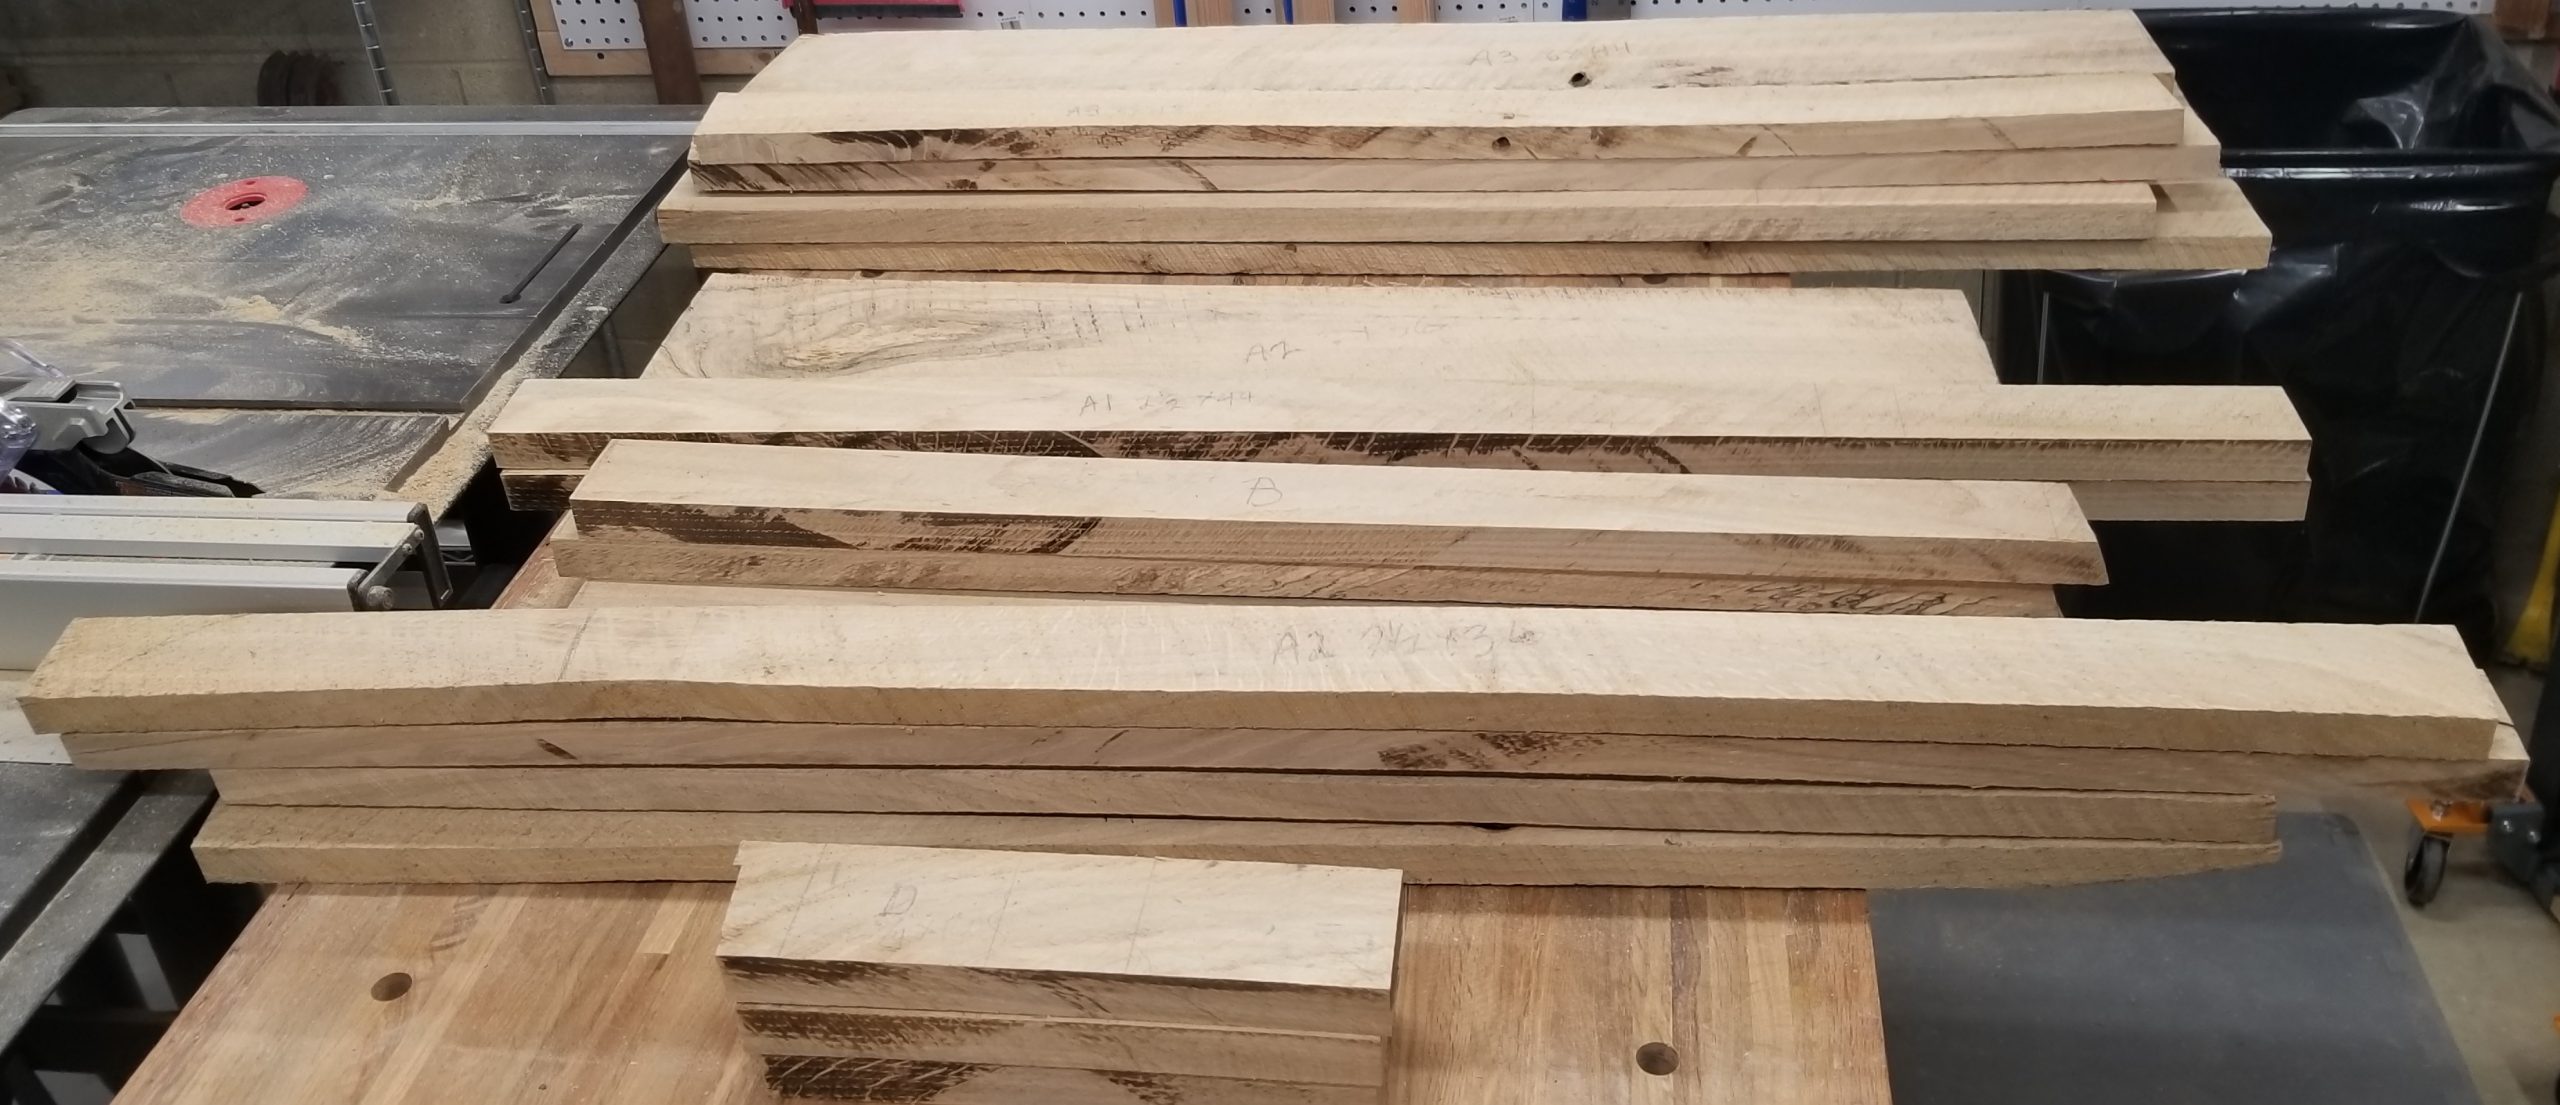
Now to flatten them on one side. Borrowing a technique I picked up on the internet, I built a sled for the planer. The boards are stabilized with shims and then glued down with hot glue. This works surprisingly well. I then take multiple passed through the planer until the top is flat and smooth. Rinse and repeat for all 25 pieces that were marked out.

Once one side has been flattened, the second side can be planed down without the need for the sled. I planed them just enough to get a flat, smooth surface. Final thickness planing will be done as needed for each piece.
Making the Side Panels
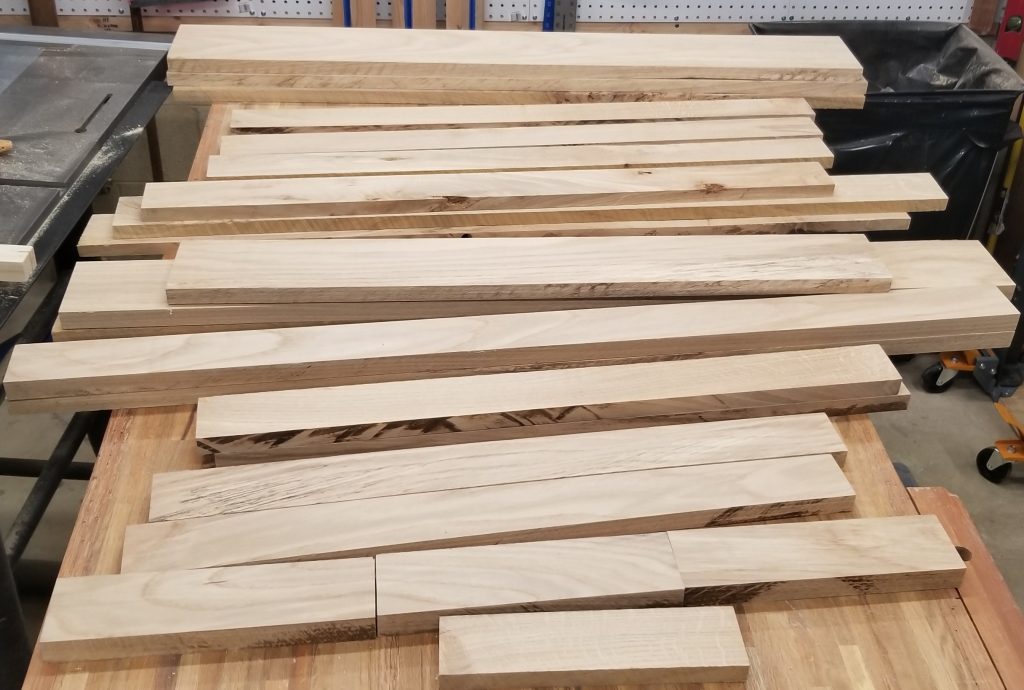
The sides will be about 14″ by about 42″. To get this, several boards will be planed to a common thickness, straightened, and jointed. The final thickness will be dictated by the boards that form each side. Since one board could not be made flat and smooth until it was about 11/16″, that was the final size.
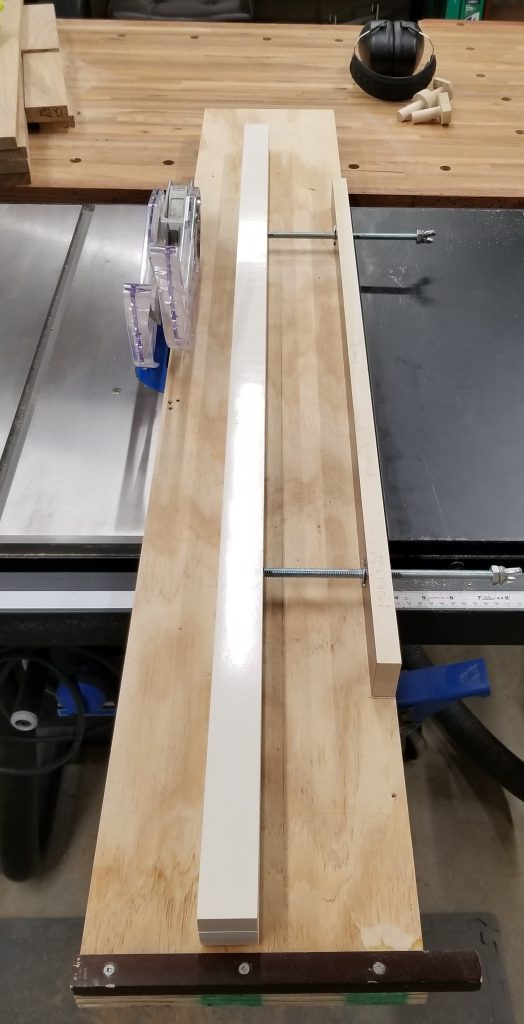
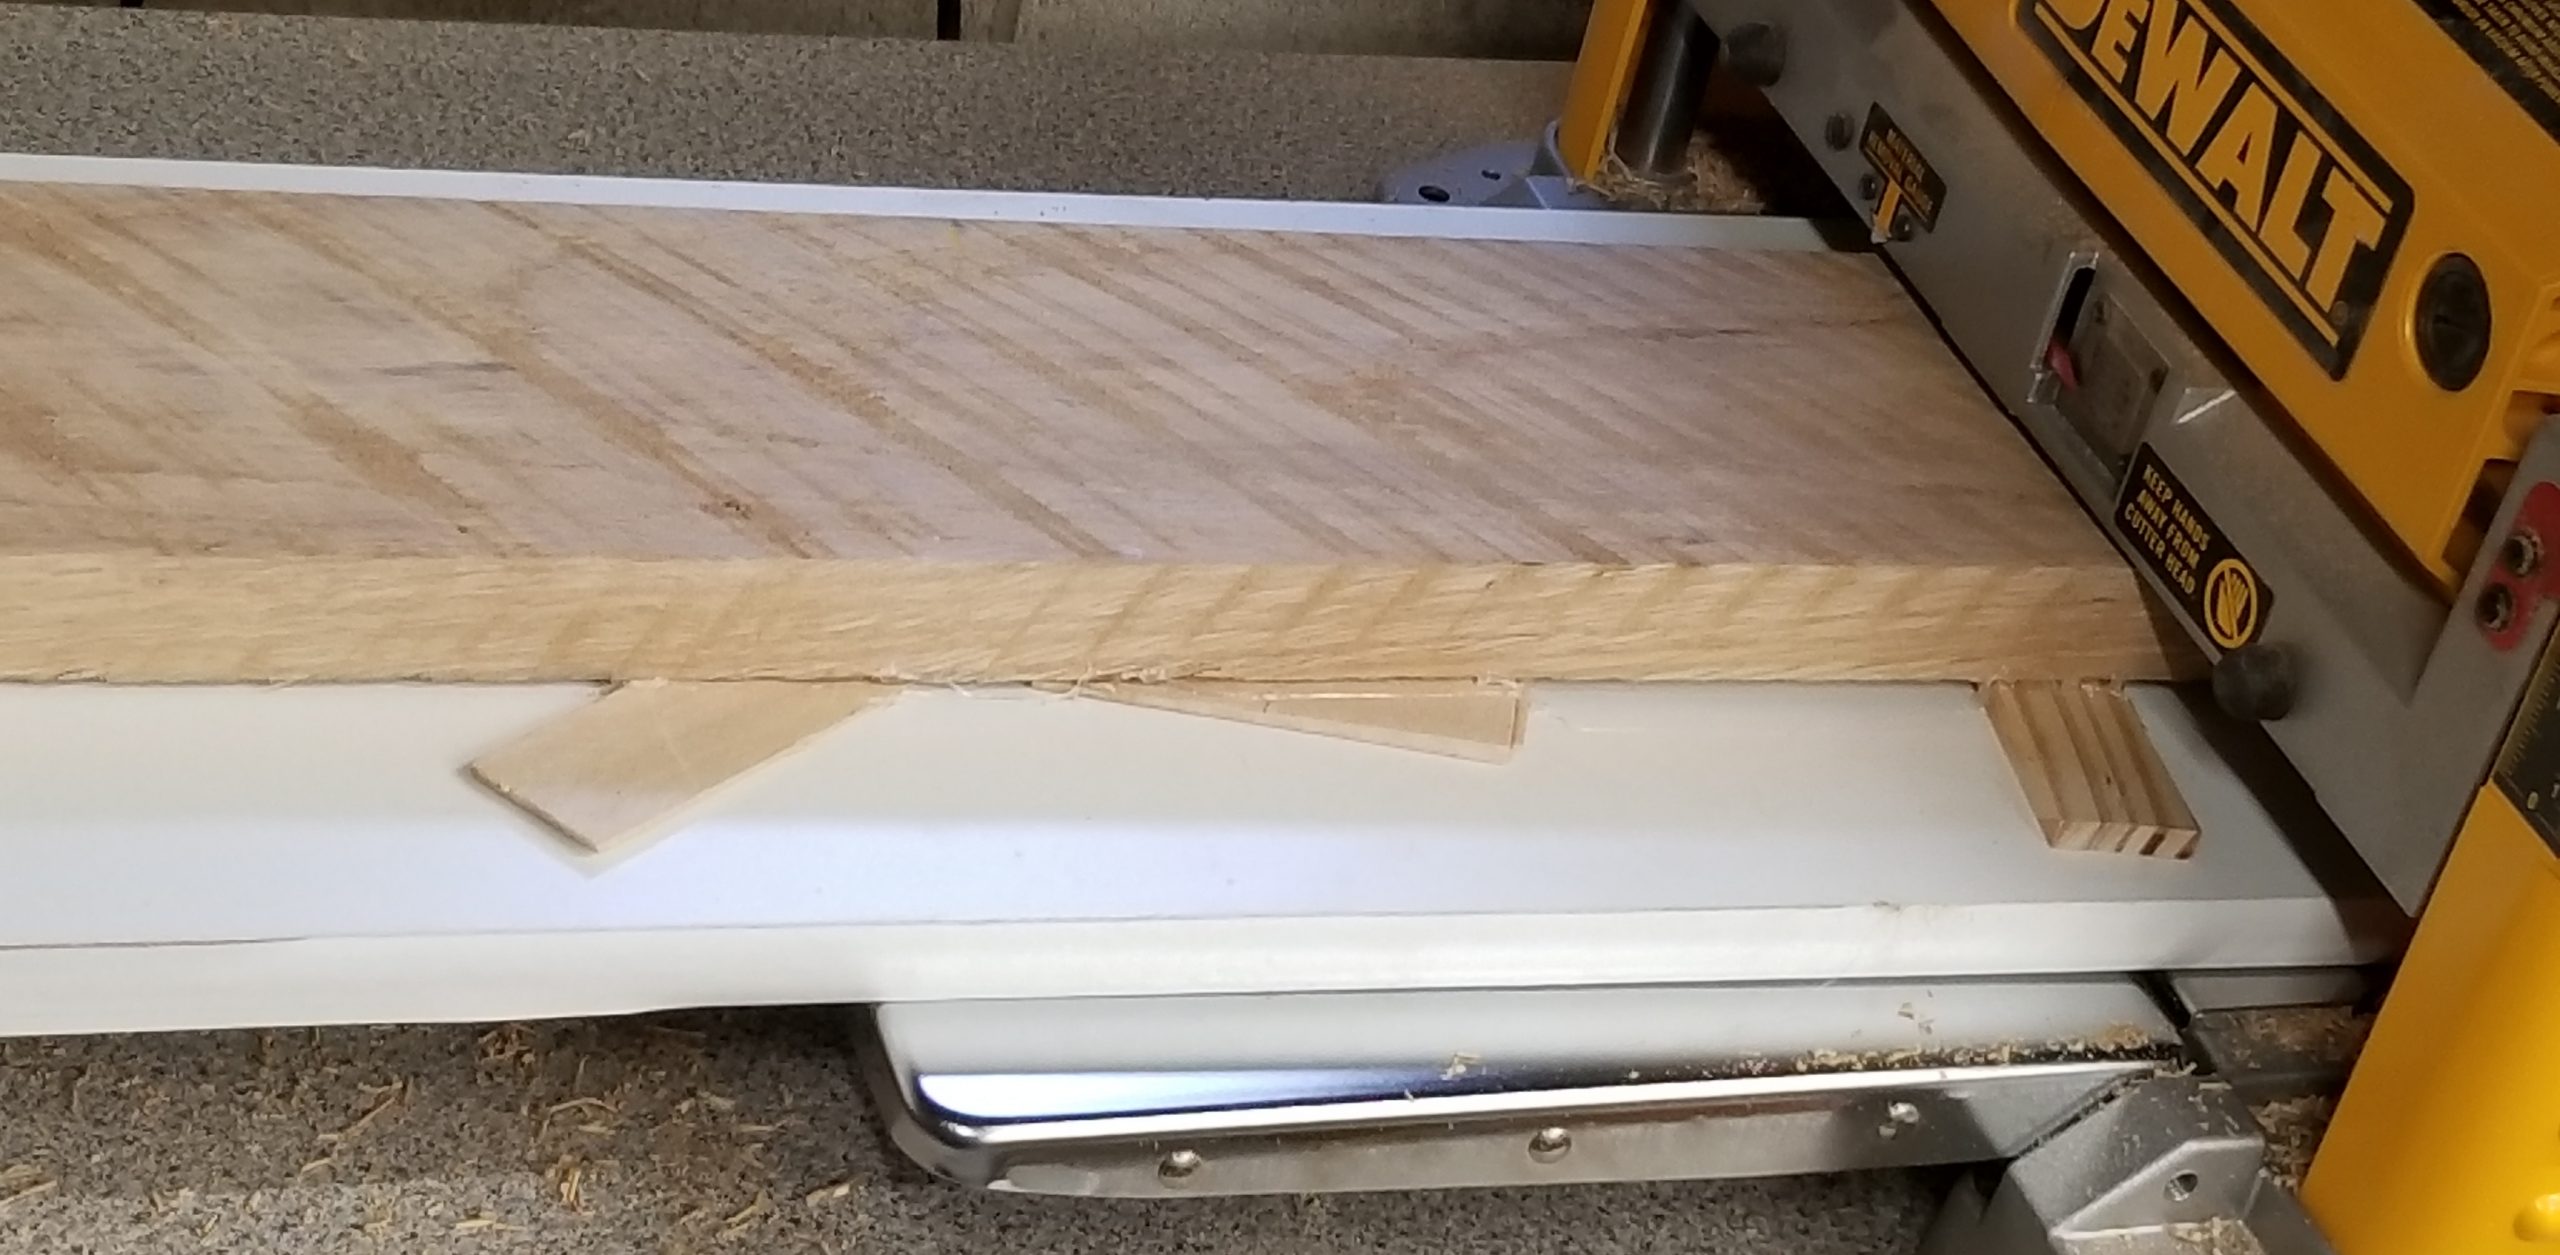
Straightening the boards takes a similar path to planing them. I build a sled for the table saw that rides the slot that the miter gauge uses. It has an adjustable, solid rail that is used to line up a board with the edge. The edge of the sled touches the saw blade, acting as a zero-insert on one side. The board to be trimmed is set with just enough overhang to get a complete straight edge on one side. Cutting the other side straight is done without the sled.
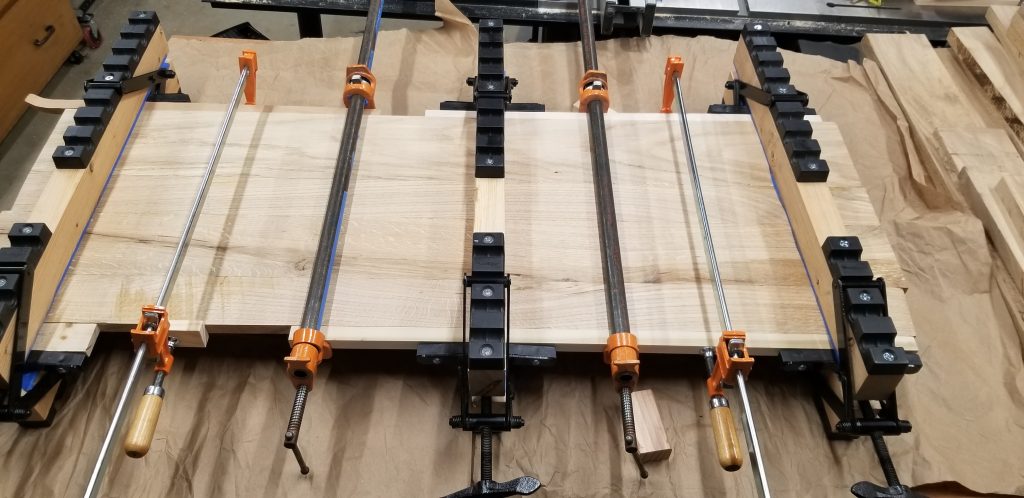
Having jointed the pieces, they are glued up and clamped. Here’s one side panel waiting for the glue to dry.
A Little More Planning
I approach many of me woodworking projects the same way I often approach software projects. I know what the end goal is and can see how to get started. But I don’t try to lay out all the details at the outset. Instead, I take an iterative approach where I refine the design as I go.
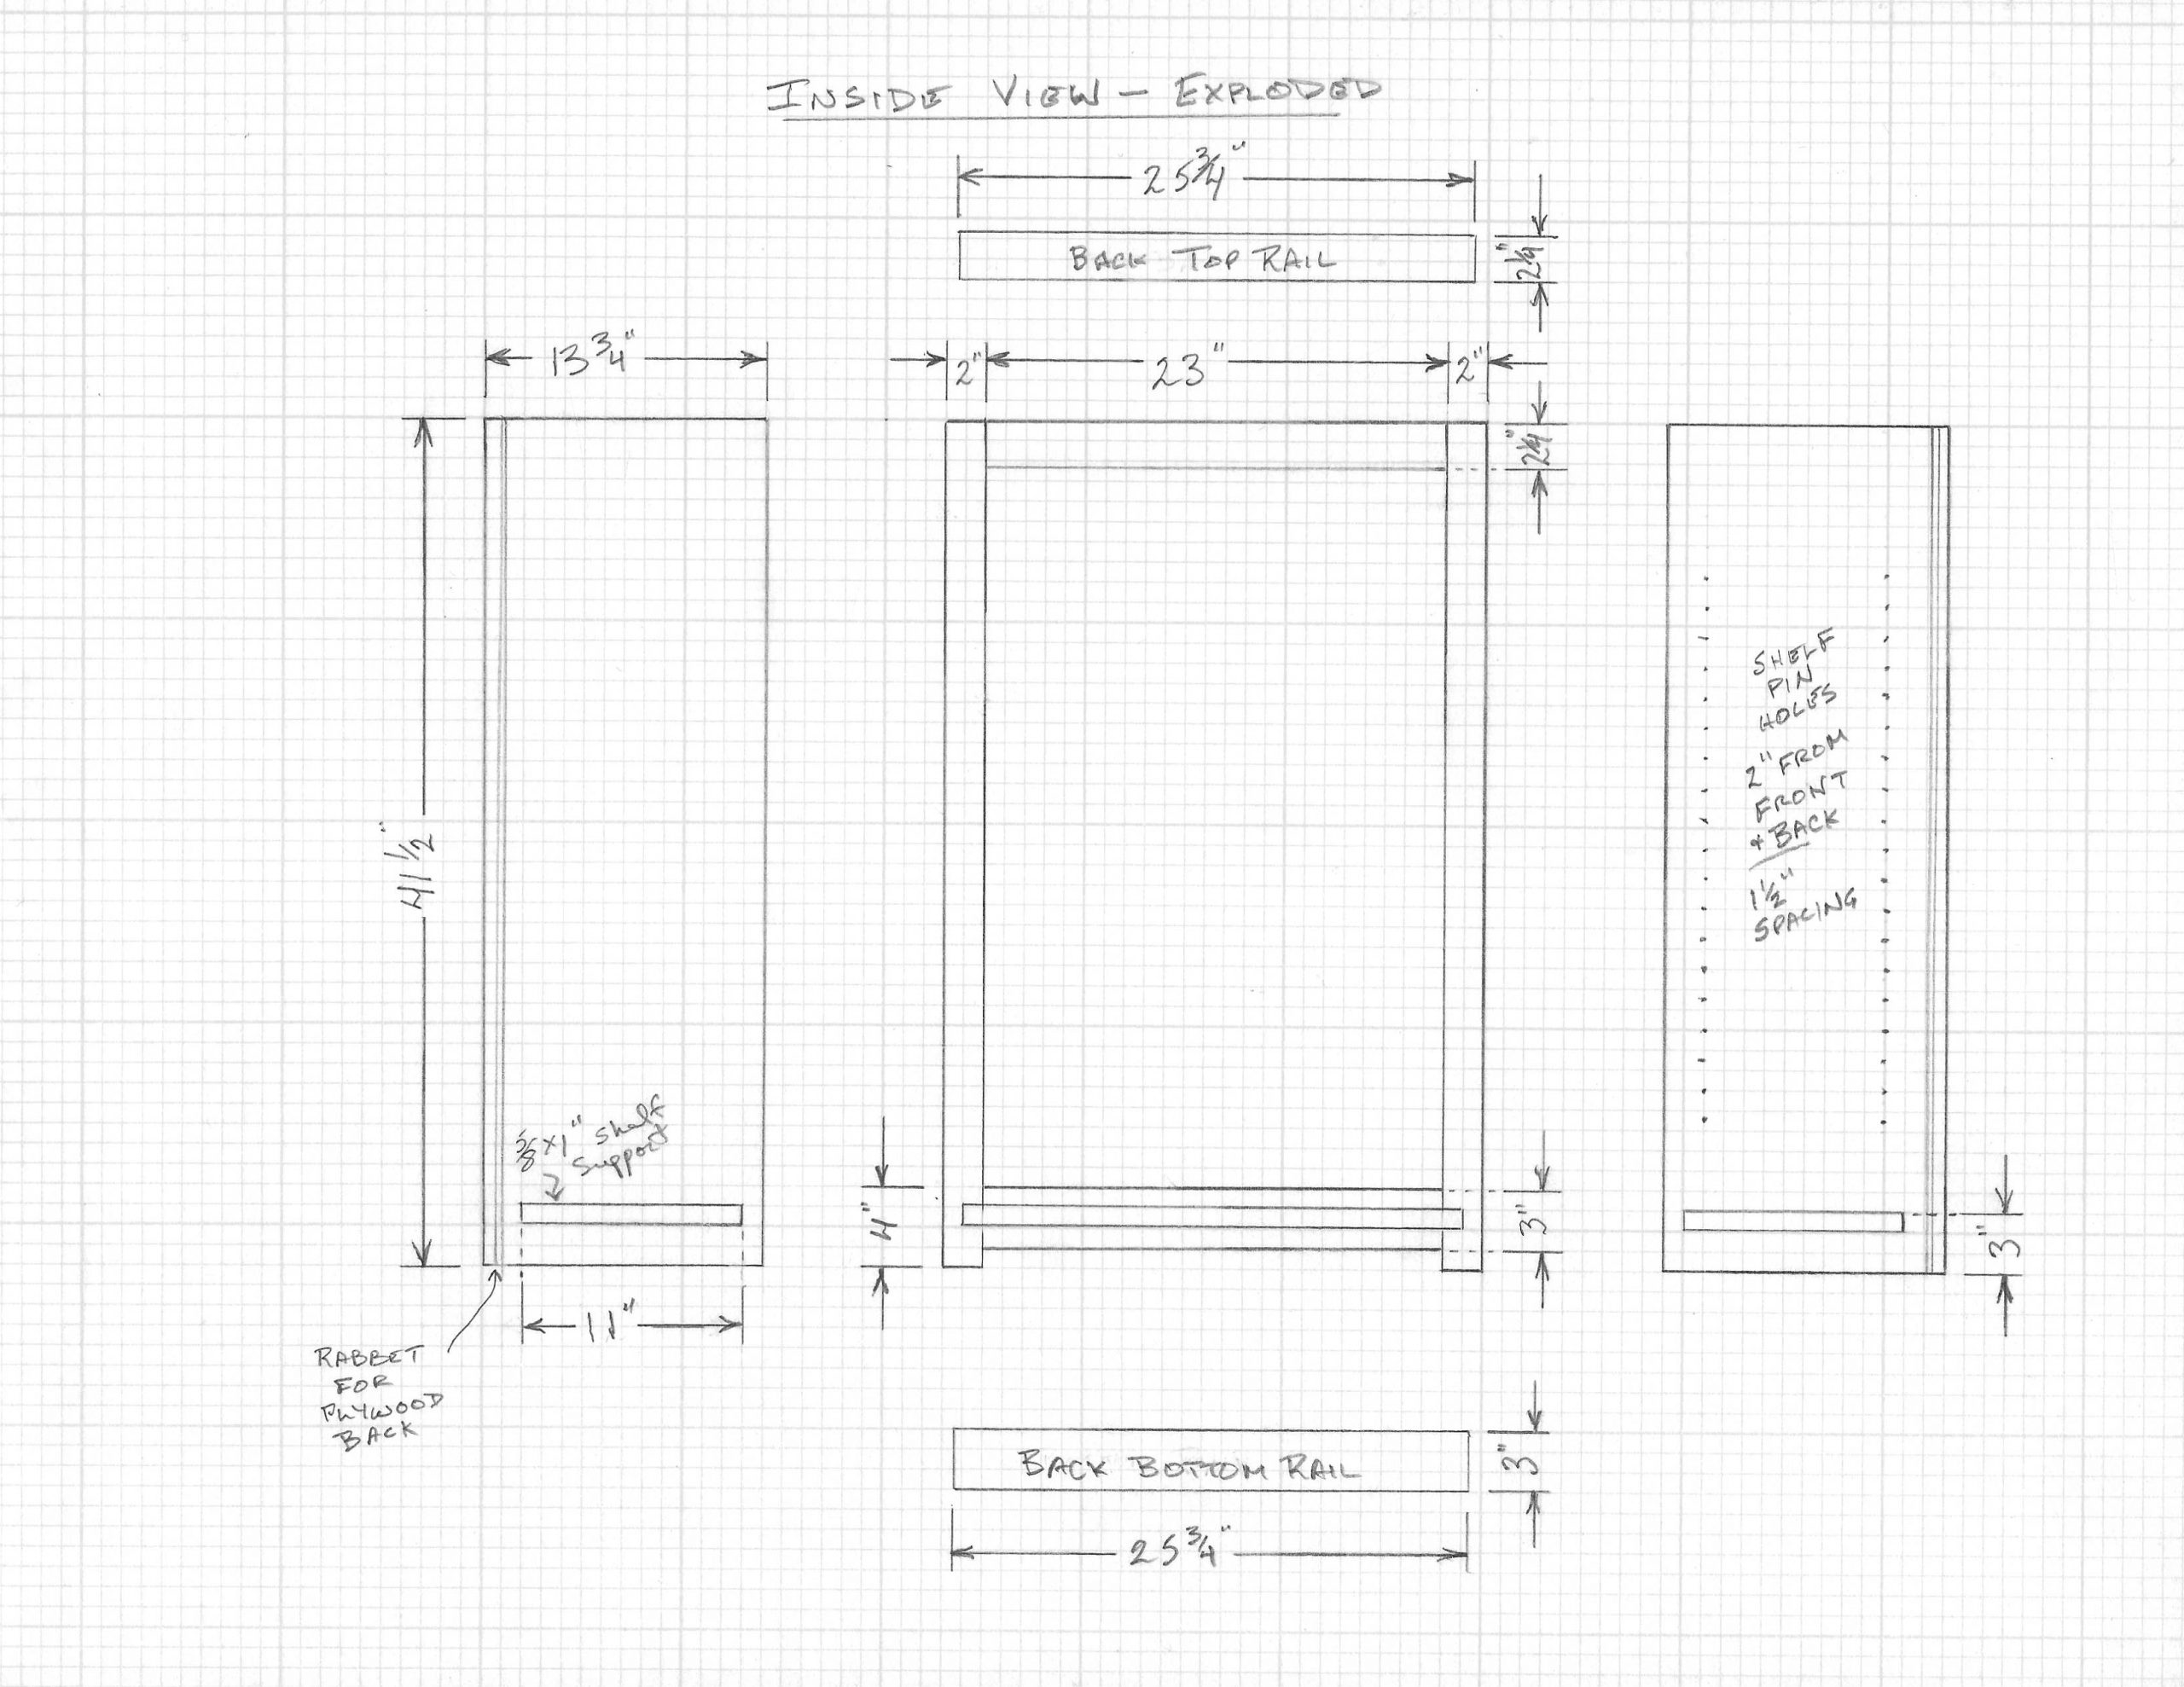
Here’s a drawing of the face frame and sides, seen from the inside and laid flat.
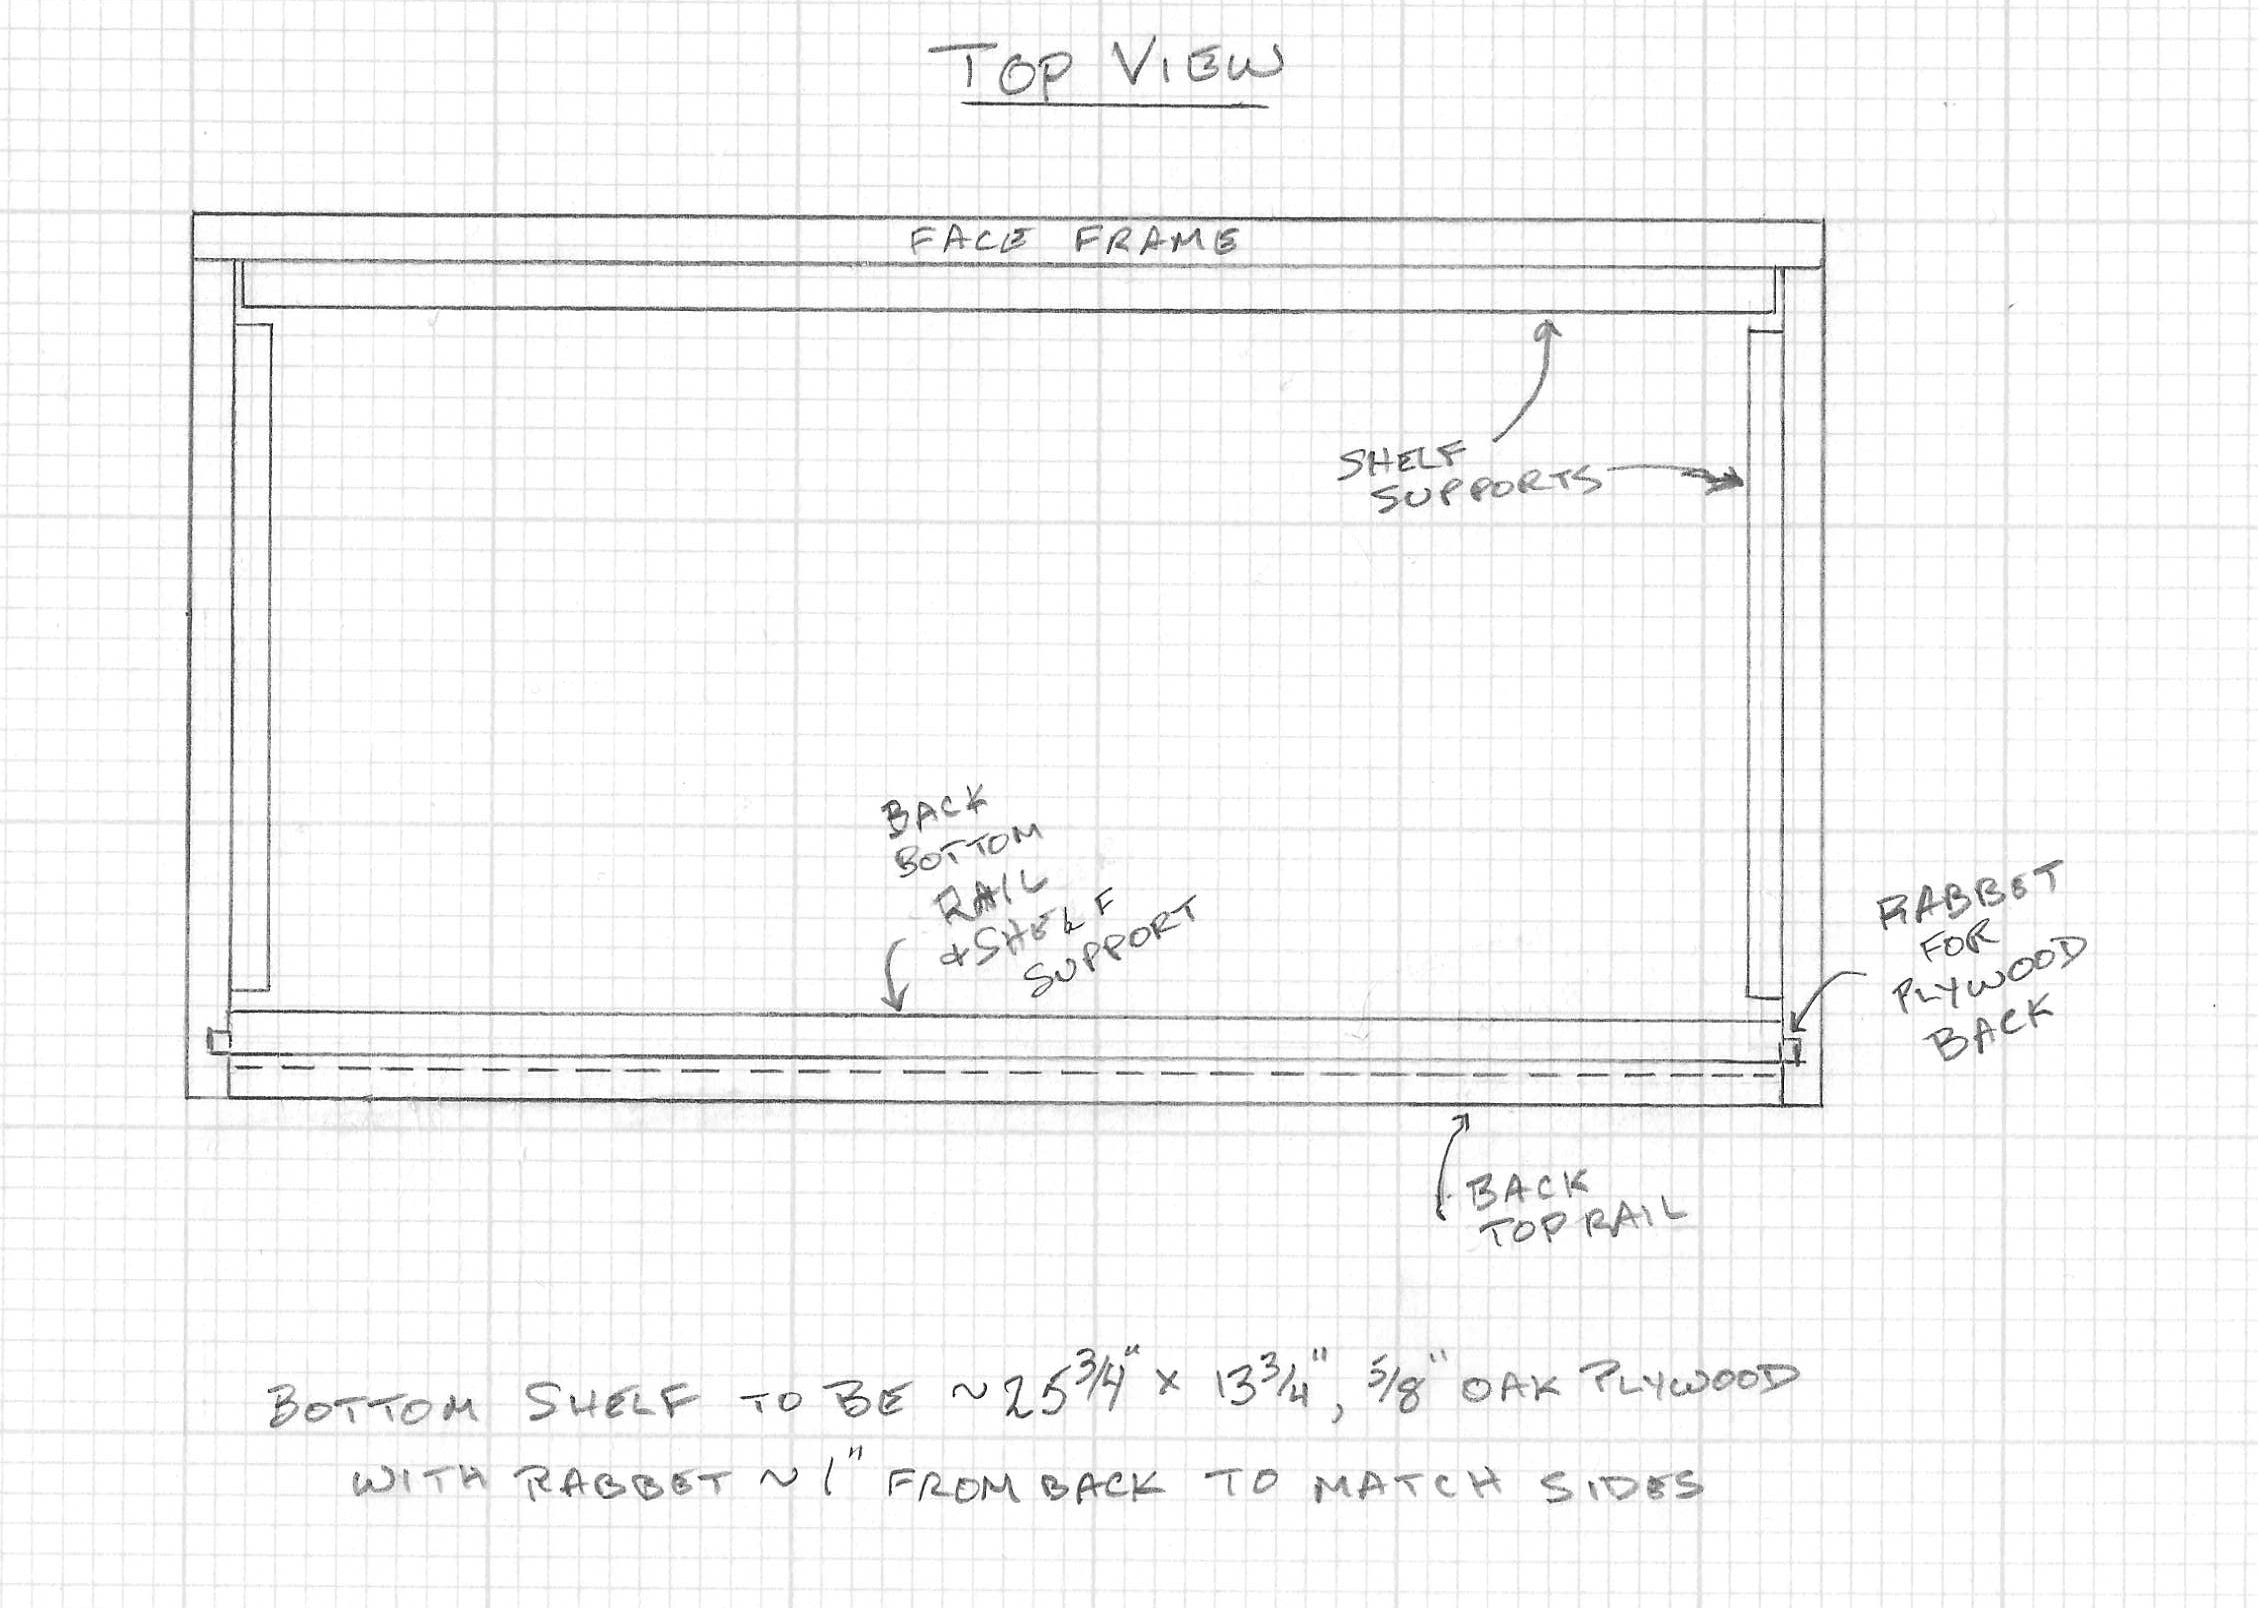
And here’s a top-down view.
At this point, I know where I’m going and can start to plane and cut the pieces needed for the face frame, the back rails, and the shelf supports. Final size adjustments will be made as needed.
It is literally a work in progress. More to come…