A few years ago, I bought a set of hardware for panel clamps. They have been indispensable in several of my projects. So I thought I would write up some notes on how they work and how I have used them.
The clamps I bought go under several brand/seller names, such as DCT and Peachtree. They go for about $25 to $30 per set. I bought three.
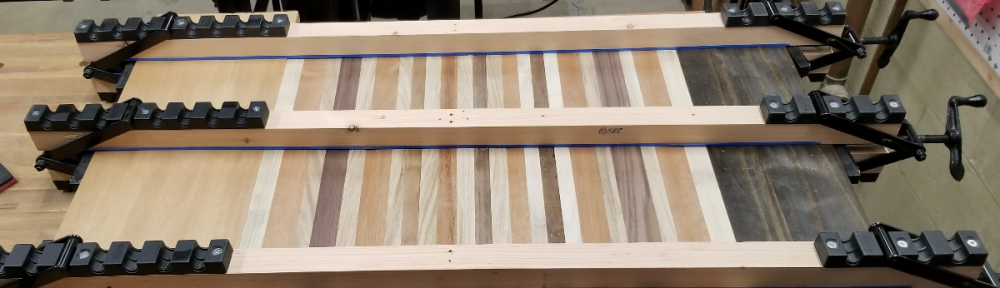
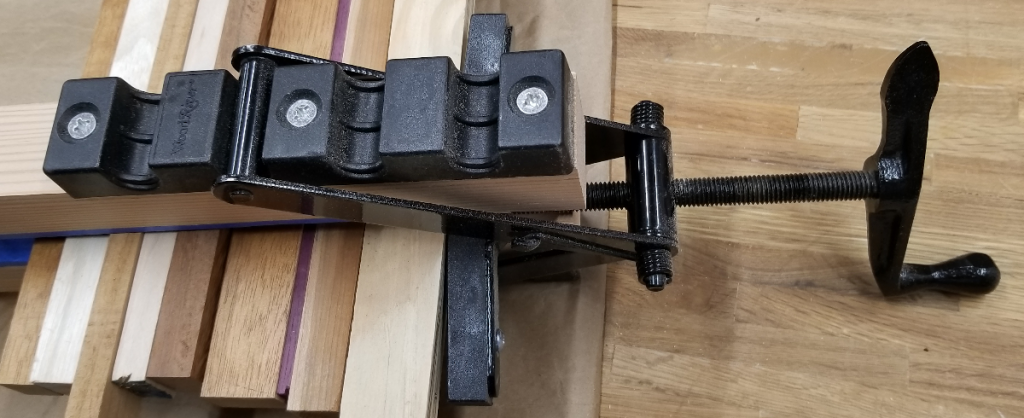
What really makes these great is that they supply pressure in four directions. Not just from both ends, but top and bottom also. This is essential in keeping the panel flat while the glue dries.
Initially, I used 24″ pieces of 2×2 as rails to form the clamps. This gave a working area of at least 18″ which was enough for the projects I was doing. (One was a cradle that needed side panels glued up. Others were cutting boards made for family and friends.) For those applications, straight 2×2 rails were sufficient to provide the top/bottom pressure.
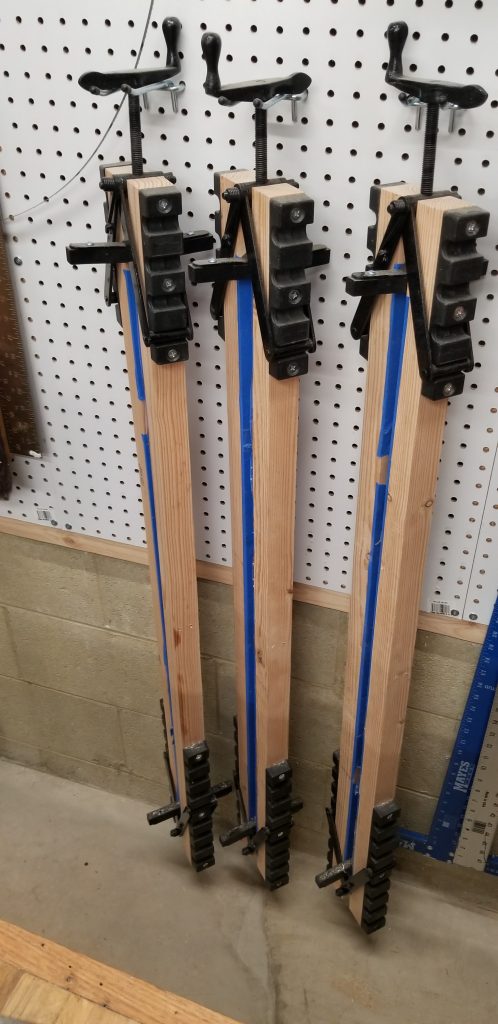
More recently, I made a table top that required me to clamp about 39″ in the final glue-up. So I needed longer clamps. Mostly, this simply requires removing the hardware from the existing boards and attaching to longer ones. However, I was concerned about the clamps exerting sufficient top/bottom pressure at the center of that longer run.
Curving the Rails
To ensure pressure at the center point, I needed to cut a gentle curve in the rails. Not something I wanted to try on the band saw.
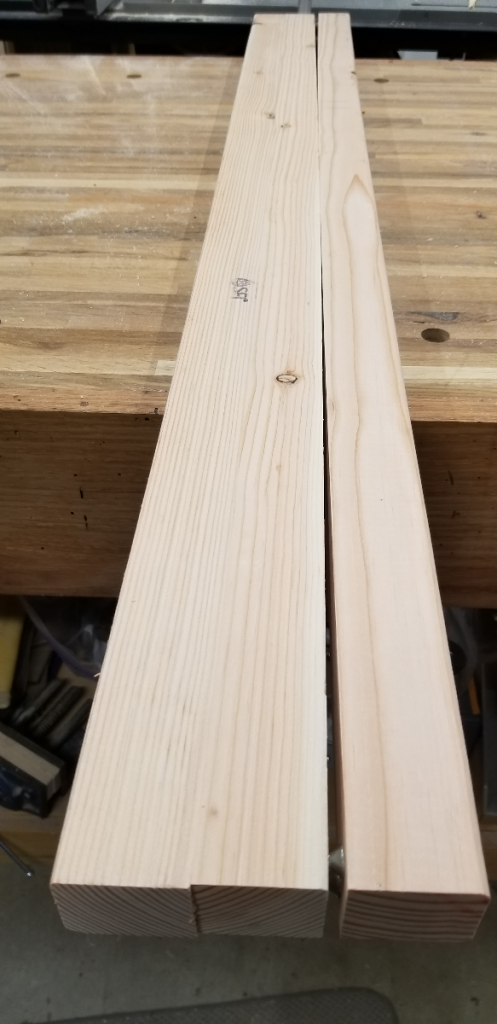
The solution was to force a curve in the rail in the opposite direction and then cut that side flat on the table saw.
I took a full 2×4, drilled holes in the middle to allow me to ‘capture’ the center of the rail with long screws, and inserted a #12 screw at each end protruding enough to give the desired curve.
Next, I attached a rail and used the center screws to pull it tight to the 2×4. I ran it through the table saw cutting off the curve to match the center.
Removed from this jig, the rail now has the desired curve.
After attaching the hardware to each end of six rails, I have three clamps capable of handling over a 40″ glue-up.
The final step for both the 24″ and 48″ rails is to cover the working faces with painters tape. This prevents the clamp from becoming part of the work piece due to glue squeeze-out.
Using the Clamps
When using the clamps to make a panel there are a few things to keep in mind.
- Use extra, unglued boards at each end to distribute the pressure and reduce the chance of damage to your work piece. These boards should be slightly thinner than the work pieces being clamped.
- Have the boards that form the panel machined to roughly the same thickness. But be sure to allow some extra so that the panel can be planed to remove any alignment problems and glue marks.
- Don’t glue up a panel wider than you can fit in your plane or otherwise machine to final thickness and flatness.